Getting the perfect picture for a locket may seem like a daunting task, but with a few simple steps, it can be done easily. First, decide on the type of locket that you want to use. Some lockets have space for two pictures, while others have space for only one.
Once you have a locket picked out, it’s time to choose the photo. Consider a picture that has sentimental value such as a favourite family portrait or a cherished moment with a loved one. If you don’t have a physical copy of the photo, you can scan it or take a high-quality photo of it with your phone or camera.
Next, it’s time to size the photo to fit perfectly in your locket. You can use a photo editing tool or app to resize the photo to the exact dimensions of your locket. After resizing and cropping, be sure to print the photo on high-quality paper or take it to a professional printer to ensure that it prints clearly and vividly.
By following these simple steps, you can get the perfect picture for your locket that will be both beautiful and sentimental.

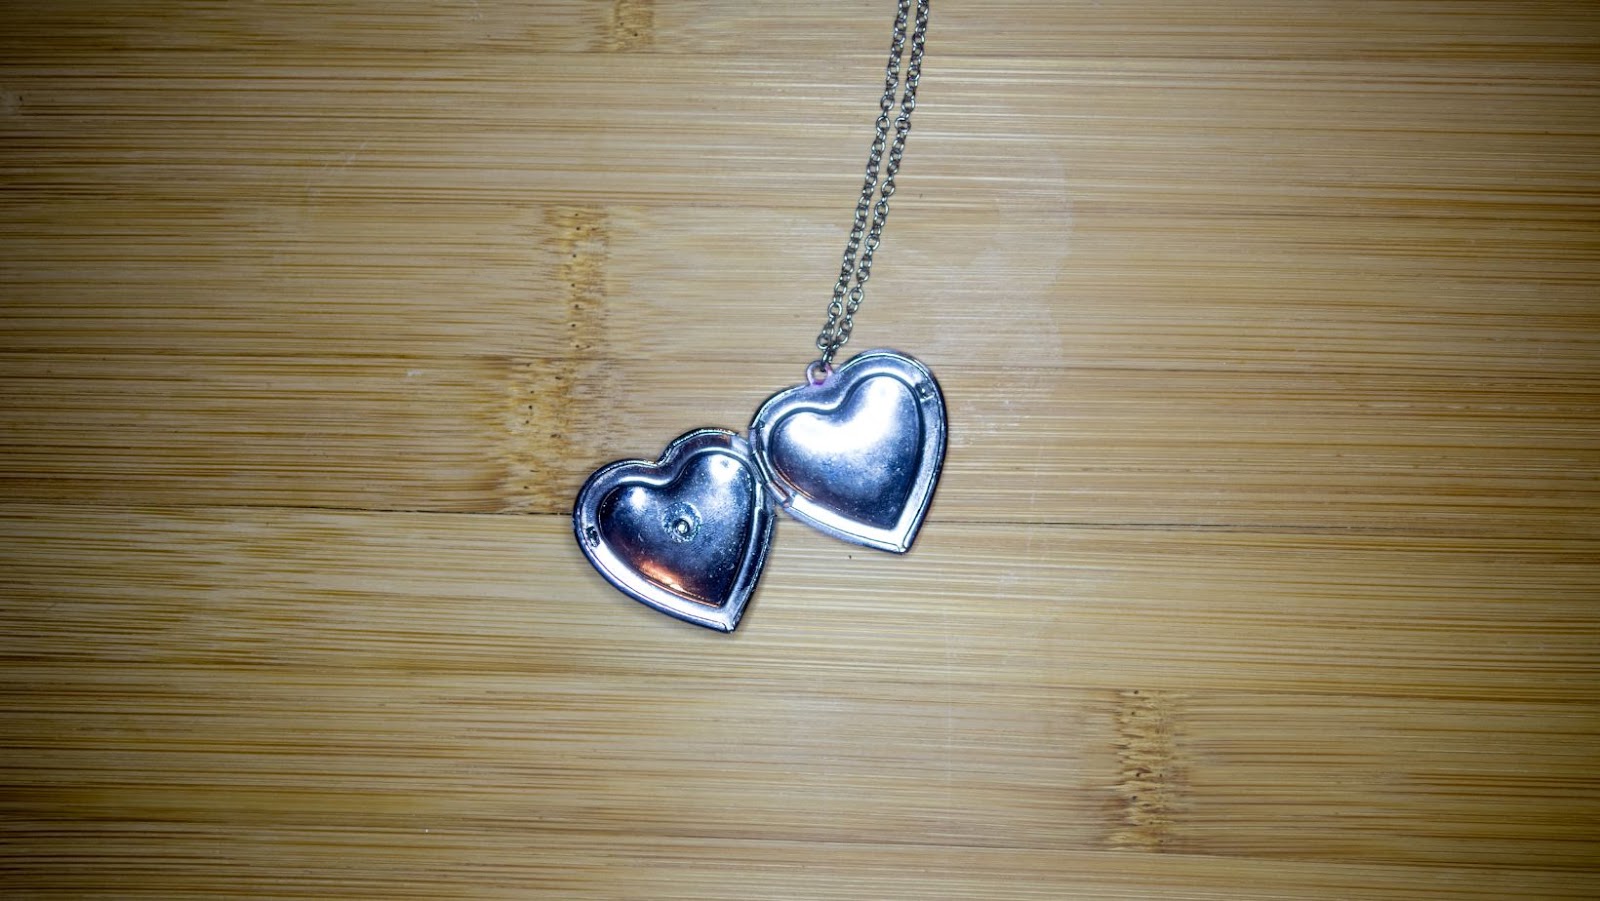
Choosing the Right Locket Size
When it comes to choosing the right locket size, there are a few factors to consider to ensure your photo fits perfectly and looks great. Here are some tips on how to choose the right locket size for your needs:
- Measure your photo: Before buying a locket, measure the photo you want to put inside it. This will give you a better idea of what size locket you need. Keep in mind that the photo should be slightly smaller than the locket to prevent it from falling out.
- Consider the occasion: The occasion you’re buying the locket for may also influence the size you choose. If you’re buying a locket as a gift for a friend’s birthday, for instance, a smaller locket may be more appropriate. However, if you’re hoping to wear the locket as a statement piece on a special occasion, you may want to opt for a larger size.
- Think about your style: Your personal style is an important consideration when choosing a locket size. If you prefer delicate jewellery, a smaller locket may be more your style. However, if you’re into bold and chunky accessories, you may want to opt for a larger locket.
- Check the chain length: The chain length of your locket can also impact the size you choose. If you’re hoping to wear the locket on a shorter chain, a smaller locket may be more appropriate. However, if you prefer longer chains, a larger locket may work better.
- Consult a jeweller: If you’re still unsure what size locket you need, consider consulting a jeweller. They can help you find the perfect size to ensure your photo sits perfectly and looks great for years to come.
Overall, choosing the right locket size is important to ensure your photo fits perfectly and looks great. By considering the occasion, your style, the chain length, and consulting a jeweller if needed, you’ll be sure to find a locket that suits your needs.

Taking the Perfect Photo for Your Locket
Getting the perfect photo for your locket can be challenging. You want to capture the essence of the person or moment you are trying to showcase, while also ensuring that the photo fits perfectly within the locket’s dimensions. Here are some tips that will help you take the perfect photo for your locket:
- Choose the Right Lighting: Lighting is an essential factor that contributes to a great photo. If the lighting is too bright or too dark, the photo may not turn out the way you hoped it to. Natural lighting is the best option for achieving the perfect lighting. Try to take the photo outside or near a window where there’s plenty of light but avoid direct sunlight.
- Use a Neutral Background: A neutral or solid background is crucial when taking a photo for a locket. A background that is too busy or too colourful can make it difficult to focus on the subject of the photo. A plain white or black background is an excellent choice, as it brings the subject forward without any distractions.
- Keep the Subject Centred and In Focus: When taking a photo, ensure that the person or object you are capturing is well-aligned and centred within the frame. It’s also essential to make sure the subject is in focus and not blurry. Hold the camera still, or use a tripod, to avoid any camera shake that could cause the image to blur.
- Take Multiple Shots: Taking several photos of the same subject can help increase your chances of getting the perfect shot. You can take a series of shots to capture different expressions or poses, and then choose the best one for your locket.
- Edit the Photo: Basic photo editing tools can help enhance your photo and make it more versatile for your locket. You can crop the image to fit perfectly in the locket’s dimensions, adjust the lighting and colour to get the best possible image.
Following these tips will help you take the perfect photo that fits perfectly in your locket. Remember to experiment with different angles, expressions, and poses to capture the essence of the moment or person you want to showcase. With a little patience and practice, anyone can take a great photo for their locket.

Expert Tips for Printing and Resizing Your Photo
When it comes to getting a picture for a locket, there are a few things to keep in mind when printing and resizing your photo. Here are some expert tips to ensure that your photo fits perfectly in your locket:
1. Choose the Right Size
The first step is to determine the size of your locket. Measure the space where the photo will be placed. Once you have the measurements, you can crop or resize your photo accordingly. Keep in mind that most lockets are small, so make sure the photo is not too large to fit.
2. Use High-Quality Photos
To get the best results, use high-quality photos with a high resolution. Blurry or low-quality photos will not look good when printed and may appear distorted when resized. It’s best to use a photo with a resolution of at least 300 DPI.
3. Consider the Orientation
Pay attention to the orientation of your photo. Make sure that it fits the shape of the locket, whether it’s round, oval, or square. Take into account the orientation of the locket, whether it’s horizontal or vertical, and rotate the photo accordingly.
4. Print with the Right Settings
When printing your photo, make sure to set the printer to the highest quality setting. Use photo paper for the best results. If you’re not sure about the settings, consult the printer manual or ask for help at your local print shop.
5. Test Before Printing
Before printing your photo, make sure to test the print settings and sizes. Print a test photo on regular paper first and make any necessary adjustments before printing on photo paper. This will help you avoid wasting expensive photo paper in case the photo doesn’t look good.
By following these expert tips, you can ensure that your photo will look great in your locket. Remember to take your time and don’t rush the process. As they say, “good things come to those who wait”.
Conclusion
In conclusion, obtaining a picture for a locket may seem like a challenging task, but with the right steps and techniques, it can be easily accomplished. Remember to consider the type of locket you have, the size of the picture needed, and the desired level of quality. Here are a few key takeaways to keep in mind:
- Use a high-quality camera or smartphone and take a well-lit photo for the best results.
- Print the photo on photo paper or have it professionally printed to ensure the right size, quality, and durability.
- Cut the photo to fit the locket precisely, if needed, using a small pair of scissors or a craft knife.
- Take extra care when placing the photo inside the locket to avoid damaging it or altering its appearance.
With these steps, you can easily get a picture for a locket that will stand the test of time and create a meaningful and cherished piece of jewellery. Remember to have fun with the process and get creative with different photo formats and styles.